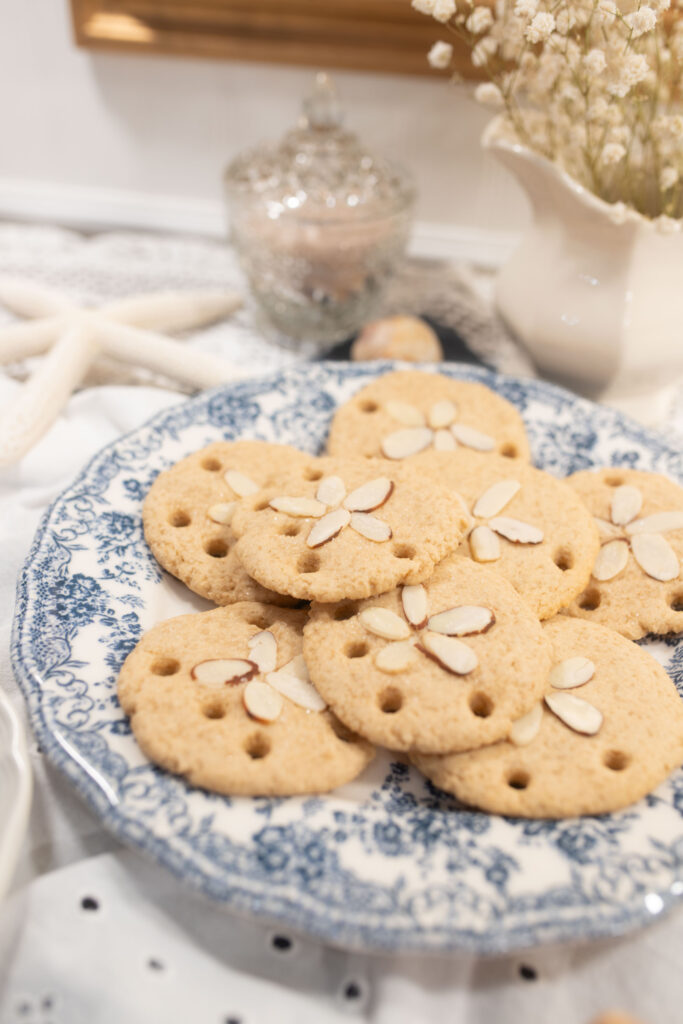
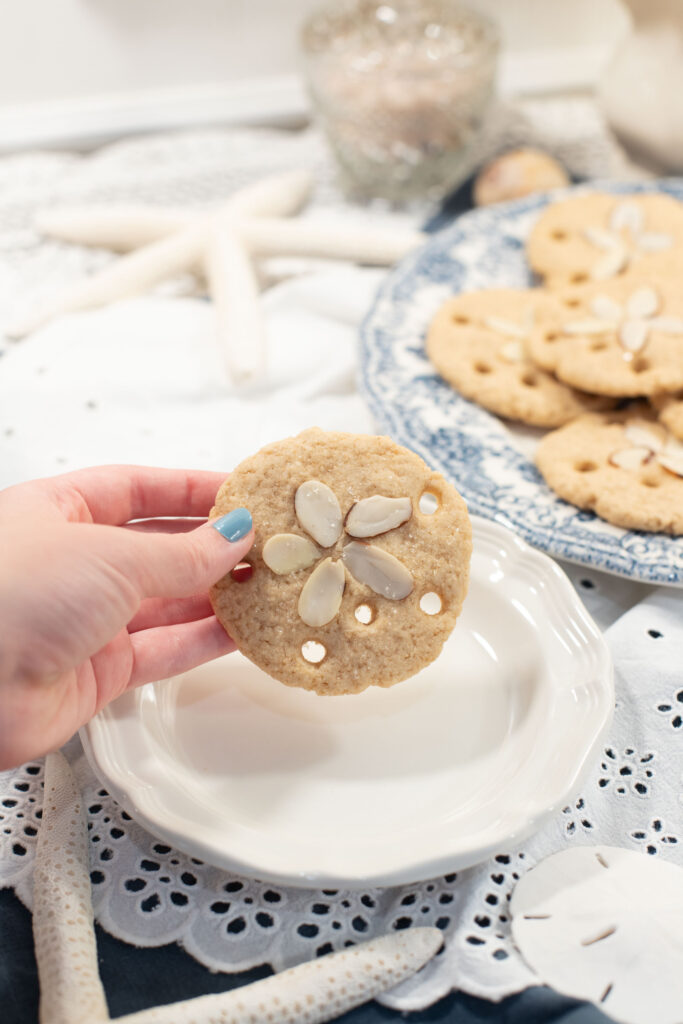
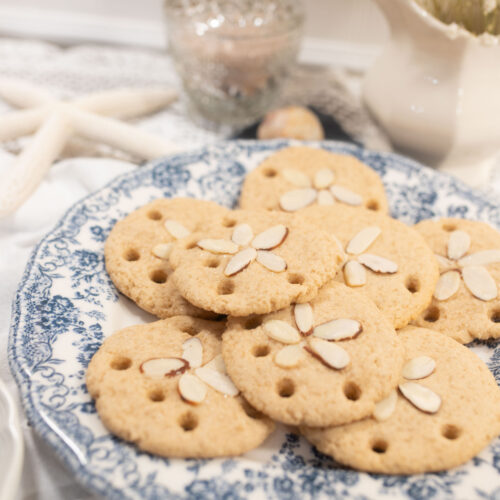
This sand dollar cookies recipe is inspired by the sand dollars found along the shoreline and made with freshly milled flour and sourdough discard. Finished with sliced almonds and tiny straw-punched details, they’re simple to make, easy to customize, and just as lovely with all-purpose flour if you prefer.
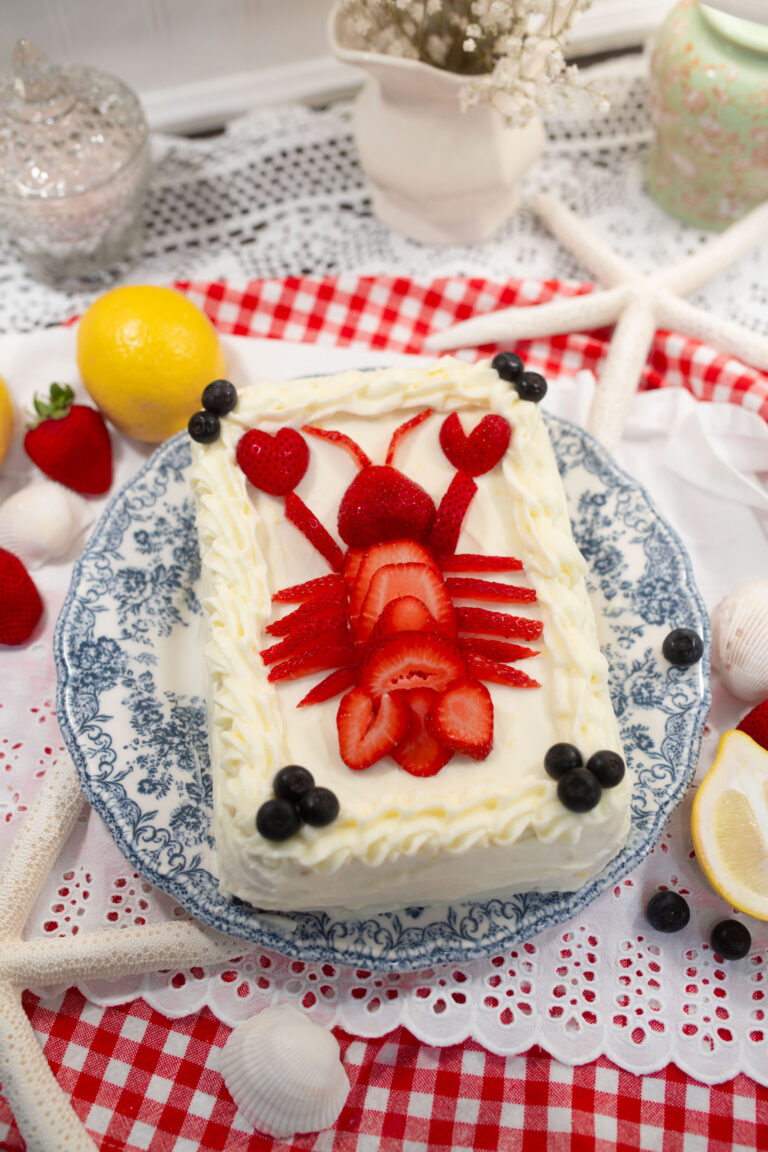
Perfect for summer gatherings or slow afternoons spent baking at home, these sand dollar cookies feel special without being complicated. They’re the kind of treat that looks right at home on a coastal dessert table, served alongside fresh lemonade and Lemon Strawberry Lobster Cake and a warm evening by the water.
Why You’ll Love This Recipe
Ingredients
Variations & Add-Ins
- Lemon zest – Add 1 tablespoon of fresh lemon zest for a bright citrus flavor that pairs beautifully with the buttery dough and coastal theme.
- Cinnamon sugar topping – Mix a pinch of cinnamon into the sanding sugar for a warmer color and a subtle hint of spice.
- Turbinado sugar finish – Swap the sanding sugar for turbinado sugar for extra crunch and a more natural sandy appearance.
- Nut-free version – Skip the almonds and gently score a simple sand dollar pattern with a toothpick instead.
- Almond extract – Add ⅛ teaspoon alongside the vanilla for a subtle bakery-style almond flavor throughout the cookies.
- Royal icing detail – Use white royal icing to create the sand dollar design for a more decorative dessert-table presentation.
Recipe Tips
Use softened, not melted butter – Butter that’s too warm can cause the cookies to spread too much. It should feel soft but still hold its shape when pressed.
Cream thoroughly – Beat the butter and sugar for a full 3–4 minutes. This creates air in the dough and helps produce a lighter, more tender cookie.
Don’t overmix once the flour is added – Mix just until the flour disappears. Overworking the dough can make the cookies dense instead of delicate.
Chill the dough completely – Chilling firms up the butter and makes the dough easier to scoop and shape. It also helps the cookies hold their sand dollar design while baking.
Keep the cookie balls uniform – Using a cookie scoop helps the cookies bake evenly and creates a consistent finished appearance.
Press the almonds gently – Place them firmly enough to stick without flattening the cookie dough. They should sit neatly on top without sinking completely.
Twist the straw slightly – A gentle twist creates cleaner holes and helps prevent the dough from tearing as you lift the straw away.
Space them properly – Leave about 2 inches between cookies to allow for even baking and proper airflow around each cookie.
Let them cool on the pan briefly – This helps the cookies finish setting before they’re transferred to a wire rack.
Instructions
- Preheat the oven: Preheat to 350°F and line two baking sheets with parchment paper. This helps prevent sticking and makes cleanup easier.
- Cream the butter and sugar: In a large mixing bowl, beat the softened butter and granulated sugar together for 3–4 minutes, until light and fluffy. The mixture should become noticeably lighter in both color and texture.
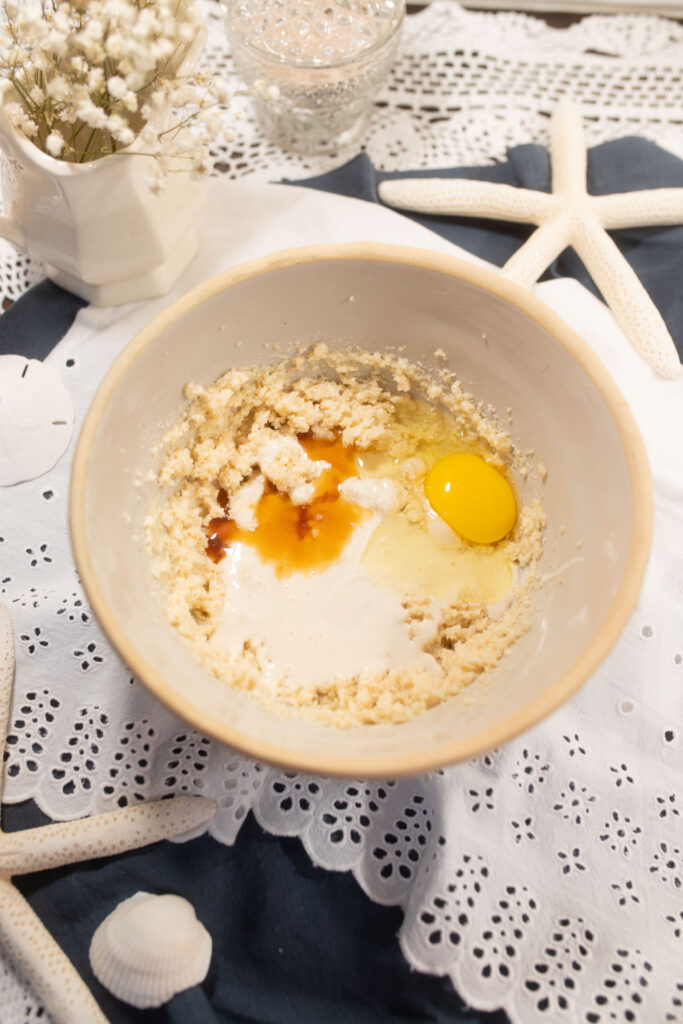
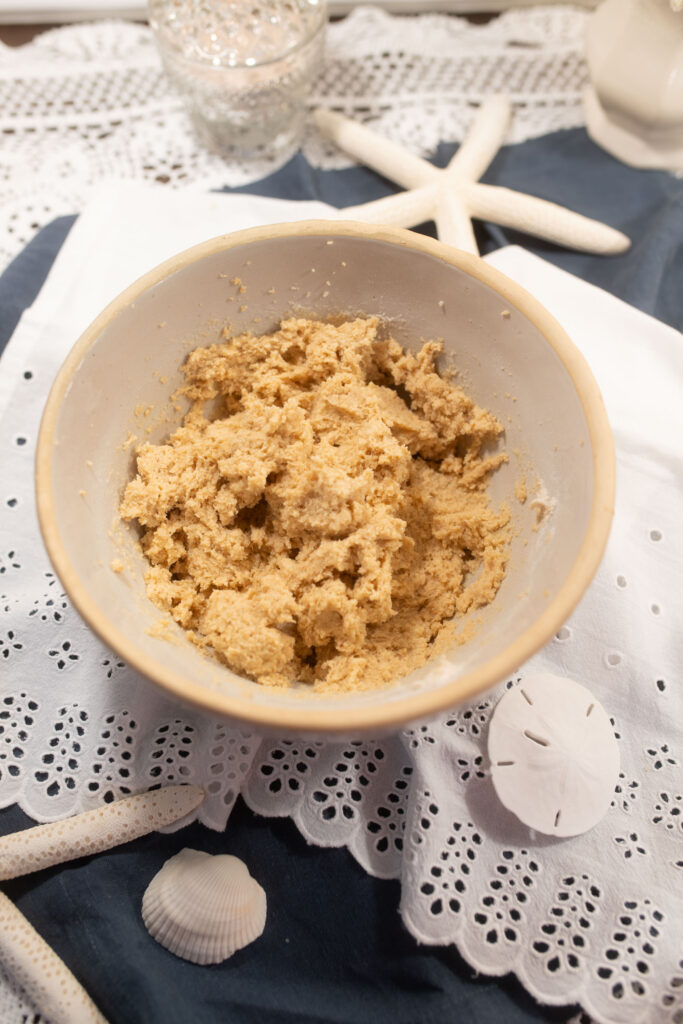
- Add egg, sourdough discard, and vanilla: Mix until fully incorporated and smooth. Scrape down the sides of the bowl as needed to ensure everything blends evenly.
- Add dry ingredients: Stir in the flour blend, baking powder, and salt just until a soft dough forms. Do not overmix once the flour has been added.
- Chill the dough: Cover and refrigerate for at least 1 hour. Chilling helps the dough firm up and keeps the cookies from spreading too much.
- Scoop the dough: Portion the dough into evenly sized balls, about 1½ tablespoons each, and place them about 2 inches apart on the prepared baking sheets.
- Flatten the cookies: Gently press each dough ball into a thick round shape using the palm of your hand or the bottom of a glass.
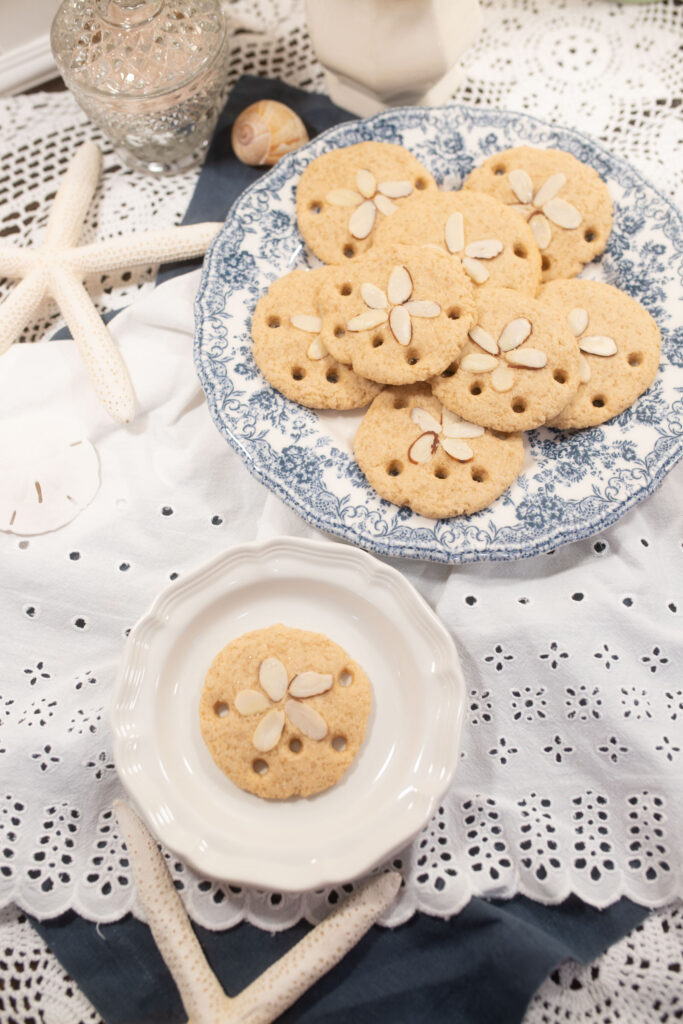
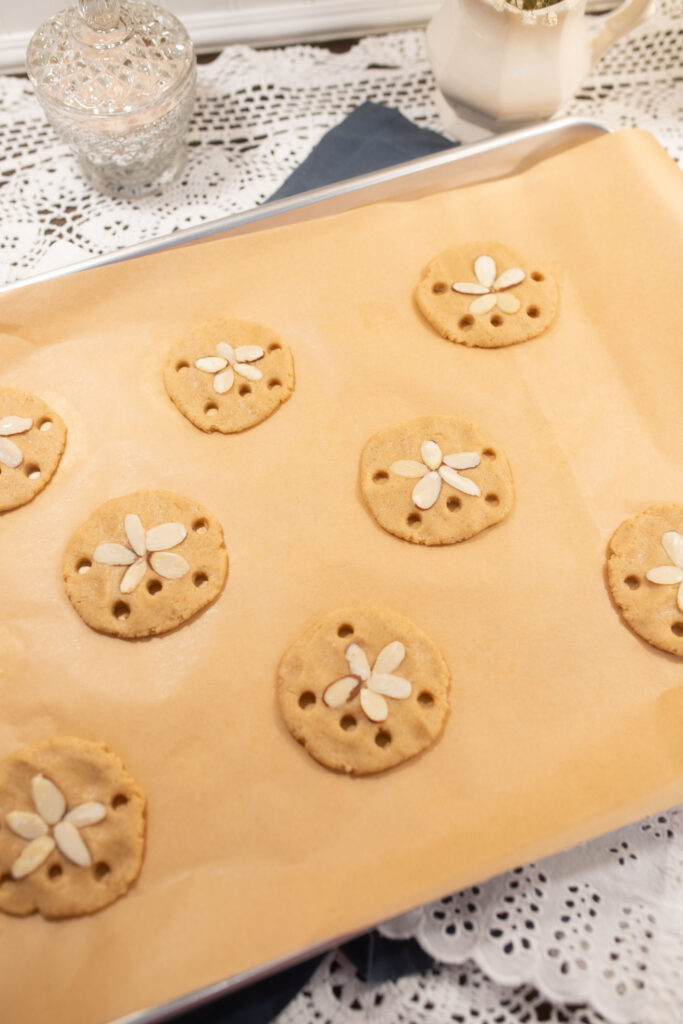
- Create the sand dollar design: Arrange 5 sliced almonds in a star pattern in the center of each cookie and gently press them into the dough.
- Add the sand dollar holes: Using a clean kitchen straw, punch four small holes around the almond design and one hole near the bottom center. Clear the straw between cookies as needed.
- Finish with sugar: Sprinkle the tops lightly with white sanding sugar for a soft shimmer and sandy appearance.
- Bake: Bake for 9–11 minutes, until the edges are set and the bottoms are lightly golden. Avoid overbaking to keep the cookies tender.
- Cool: Let cookies cool on the baking sheet for 5 minutes before transferring to a wire rack to cool completely.
How to Create the Sand Dollar Design
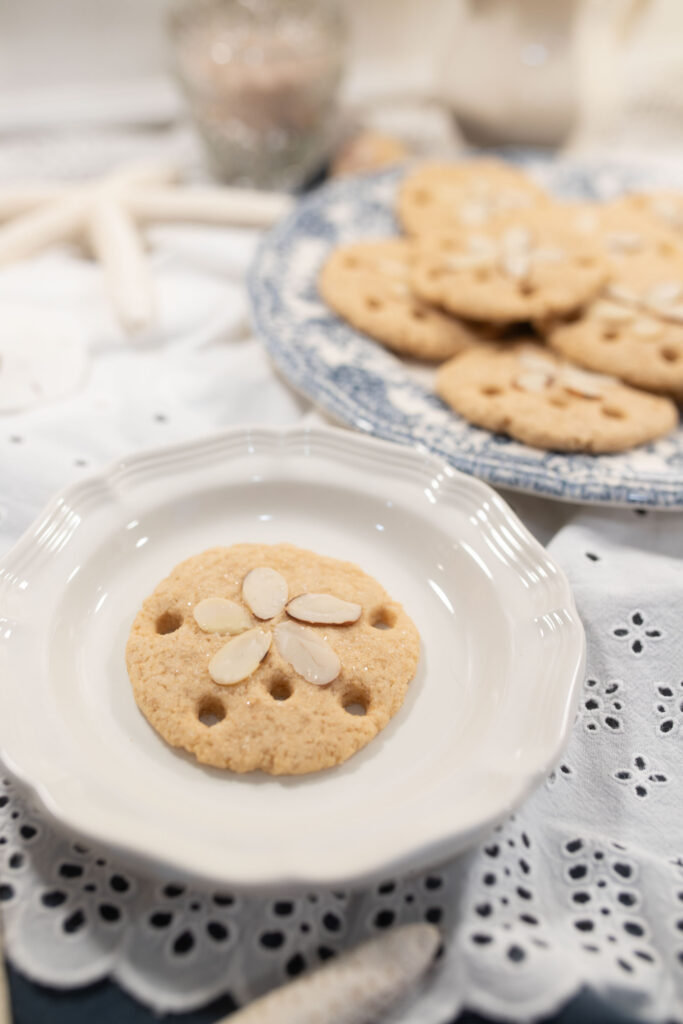
- Arrange 5 sliced almonds in a star pattern in the center of each cookie.
- Punch 4 small holes around the outer points of the almond star using a straw.
- Punch 1 additional hole near the bottom center.
- Sprinkle with sanding sugar before baking.
Freezing & Storage
- Room temperature – Store completely cooled cookies in an airtight container at room temperature for up to 3 days. They stay tender and flavorful during this time.
- Avoid stacking immediately – If stacking, place parchment paper between layers to protect the almond decorations and prevent sticking.
- Make the dough ahead – Dough can be prepared and refrigerated for up to 24 hours before rolling and cutting, making it a great make-ahead option.
- Freezing the dough – Wrap tightly and freeze for up to 2 months. Thaw overnight in the refrigerator before rolling and baking.
- Freezing baked cookies – Freeze fully cooled cookies in an airtight container for up to 3 months. Thaw at room temperature before serving.
Recipe FAQs
More Recipes
Freshly Milled Sourdough Sand Dollar Cookies
Ingredients
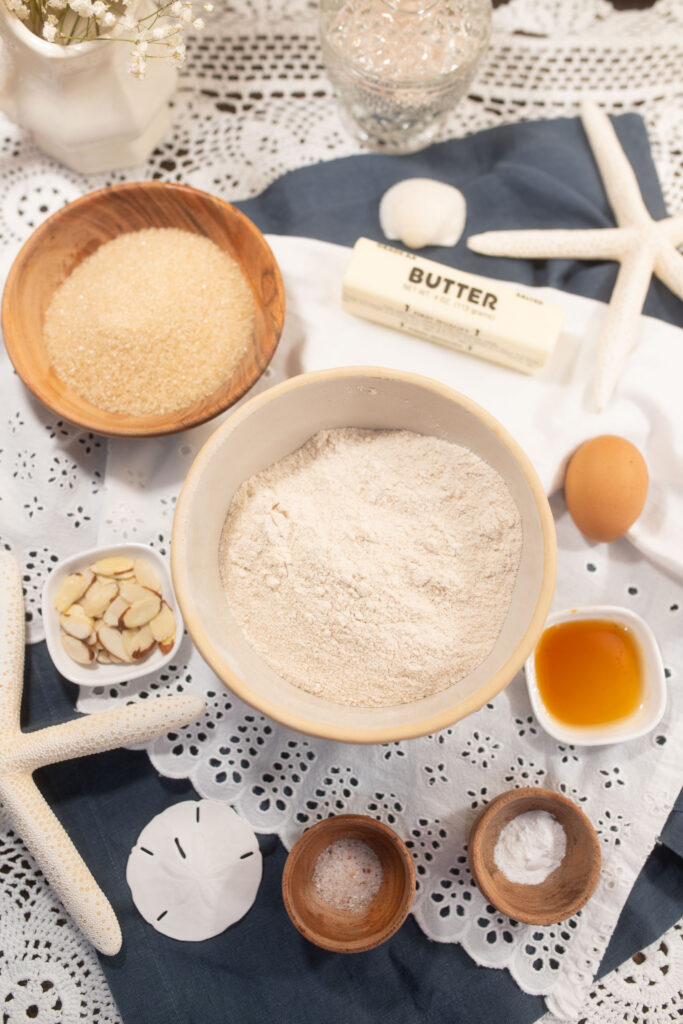
- 1/2 cup unsalted butter softened 113 grams
- 3/4 cup granulated sugar 150 grams
- 1 large egg room temperature 50 grams
- 1/2 cup sourdough discard 120 grams
- 1 teaspoon vanilla extract 5 grams
- 1 cup freshly milled hard white wheat flour 144 grams
- 2/3 cup freshly milled soft white wheat flour 96 grams
- 1/2 teaspoon baking powder 3 grams
- 1/2 teaspoon salt 3 grams
- 1 small package sliced almonds
- 2 –3 tablespoons white sanding sugar 30–45 grams
Instructions
- Mill your flour: Mill 144 grams hard white wheat berries and 96 grams soft white wheat berries. Whisk the freshly milled flours together until evenly combined to create a balanced flour blend that yields approximately 240 grams (2 cups) flour. If preferred, substitute 2 cups all-purpose flour.
- Preheat the oven: Preheat to 350°F and line two baking sheets with parchment paper. This helps prevent sticking and makes cleanup easier.
- Cream the butter and sugar: In a large mixing bowl, beat the softened butter and granulated sugar together for 3–4 minutes, until light and fluffy. The mixture should become noticeably lighter in both color and texture.
- Add egg, sourdough discard, and vanilla: Mix until fully incorporated and smooth. Scrape down the sides of the bowl as needed to ensure everything blends evenly.
- Add dry ingredients: Stir in the flour blend, baking powder, and salt just until a soft dough forms. Do not overmix once the flour has been added.
- Chill the dough: Cover and refrigerate for at least 1 hour. Chilling helps the dough firm up and keeps the cookies from spreading too much.
- Scoop the dough: Portion the dough into evenly sized balls, about 1½ tablespoons each, and place them about 2 inches apart on the prepared baking sheets.
- Flatten the cookies: Gently press each dough ball into a thick round shape using the palm of your hand or the bottom of a glass.
- Create the sand dollar design: Arrange 5 sliced almonds in a star pattern in the center of each cookie and gently press them into the dough.
- Add the sand dollar holes: Using a clean kitchen straw, punch four small holes around the almond design and one hole near the bottom center. Clear the straw between cookies as needed.
- Finish with sugar: Sprinkle the tops lightly with white sanding sugar for a soft shimmer and sandy appearance.
- Bake: Bake for 9–11 minutes, until the edges are set and the bottoms are lightly golden. Avoid overbaking to keep the cookies tender.
- Cool: Let cookies cool on the baking sheet for 5 minutes before transferring to a wire rack to cool completely.
Notes
Did you try this recipe?
If you give it a try, I hope it fills your kitchen with something comforting. I’d love to see your version—tag me on IG @rubyscozycottage

Ruby Ann
Lifestyle blogger blending cottage comfort with a warm, bookish cozy-academia charm. I share whimsical, cozy recipes, gentle cottage inspiration, and the everyday magic that makes home feel inviting and quietly enchanting.