
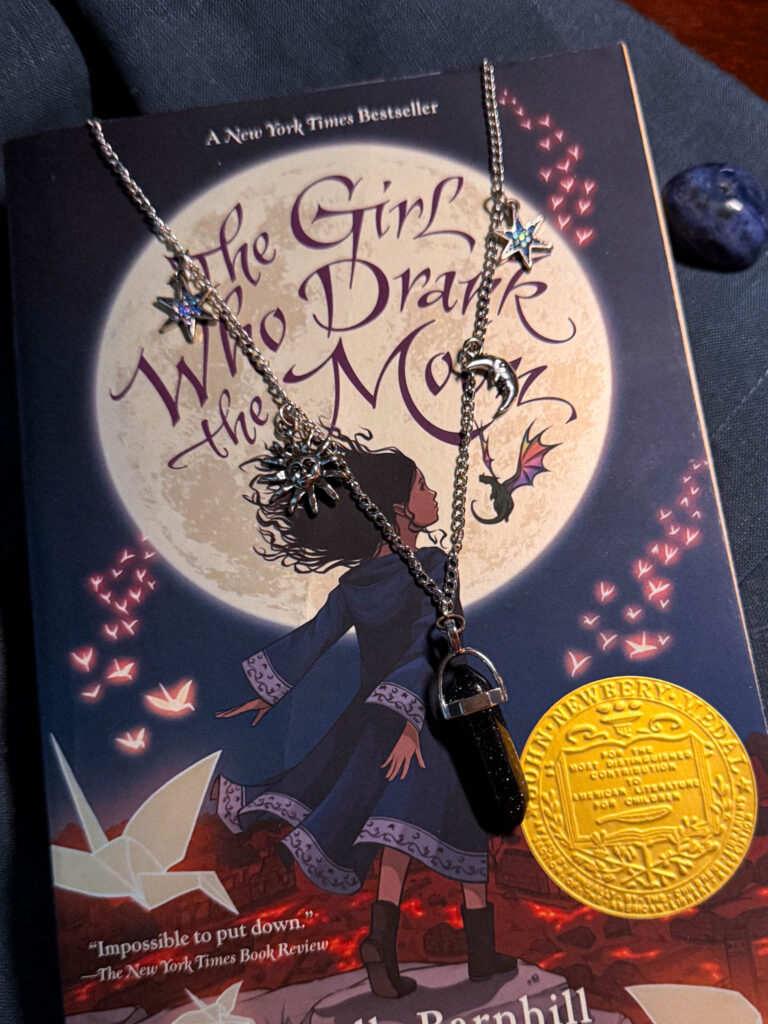
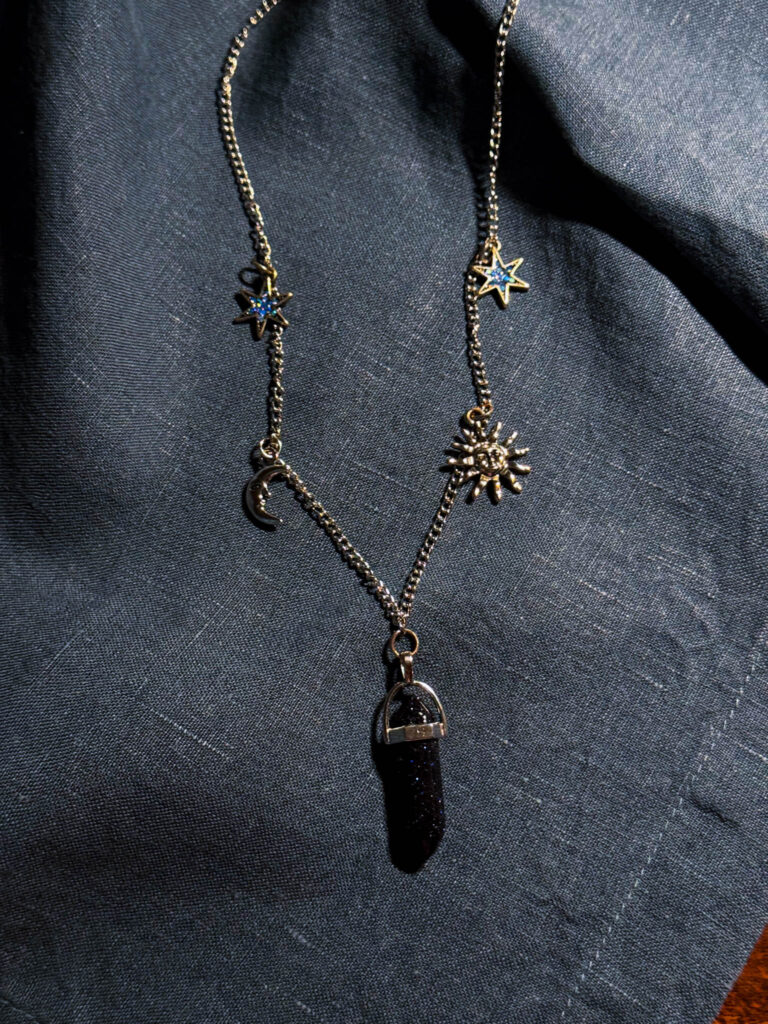
Some things are meant to be made slowly—with soft music playing, a candle flickering nearby, and no pressure to be productive. This DIY celestial charm necklace is one of those things.
It’s simple and soothing, like brewing tea or rearranging your bookshelf on a rainy afternoon. With just a delicate chain and a handful of tiny charms, you can create something quietly magical.
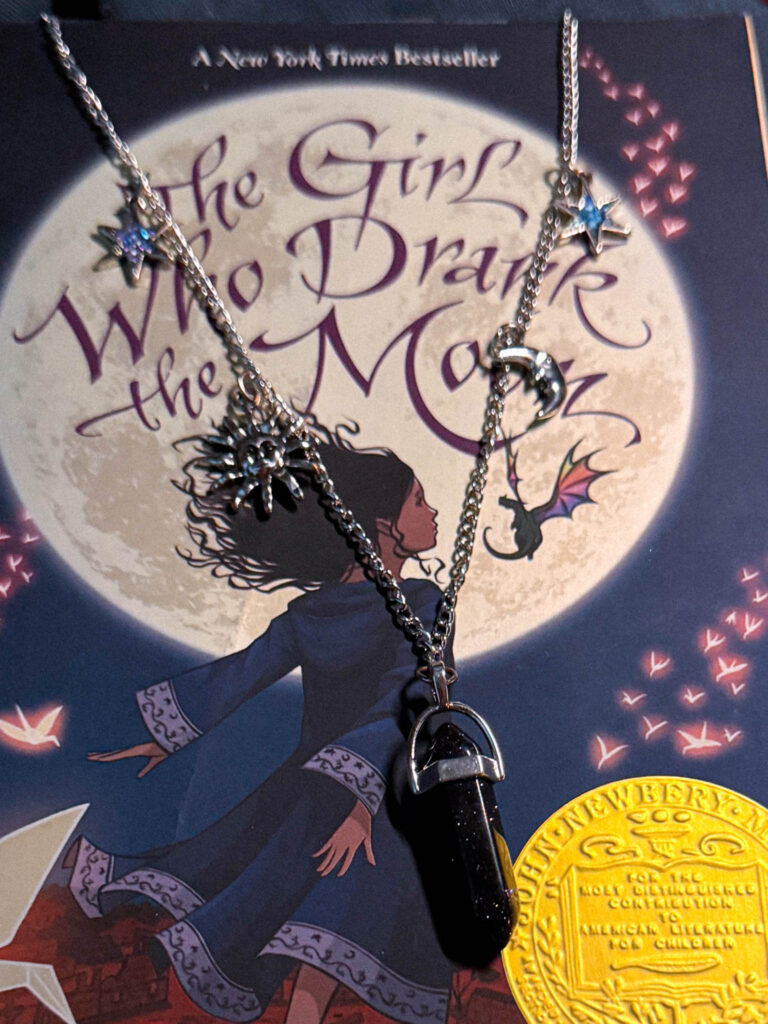
More than an accessory, it feels like a secret spell you wear close. Whether it’s layered over your coziest cardigan or tucked beneath a hoodie during a study break, this necklace becomes part of your soft armor—a gentle reminder that beauty can be quiet, and you don’t have to shine loudly to glow. 🌙✨
This post may contain affiliate links, please read our disclosure policy for details.
Why You’ll Love This DIY Charm Necklace
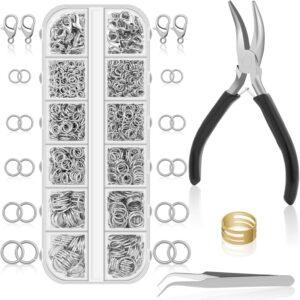
Supplies You’ll Need:
Crafty Cottage Tips
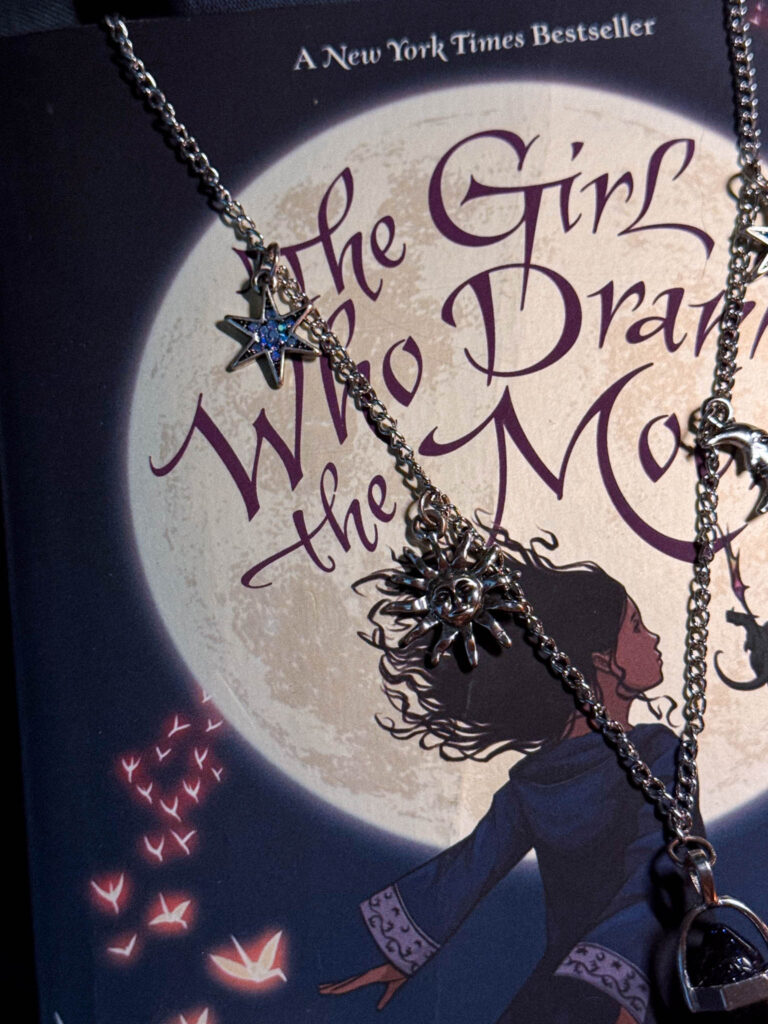
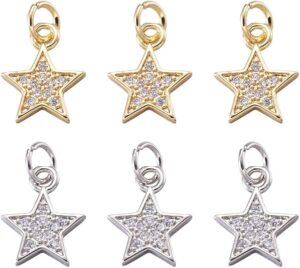
Lay out your design first: Before attaching anything, arrange your charms like stars in a tiny constellation—this helps with balance and lets the magic unfold slowly.
Twist, don’t pull, your jump rings: Use two pliers to gently twist the ring open sideways, not apart. This keeps the shape round and the charm secure.
Embrace imperfection: Let the necklace be a little off-center, a little soft. It’s not meant to be perfect—it’s meant to feel like you. ✨
Instructions
- Set the mood: Clear a little space, light a candle, and lay out your charms like a tiny constellation. This is your time.
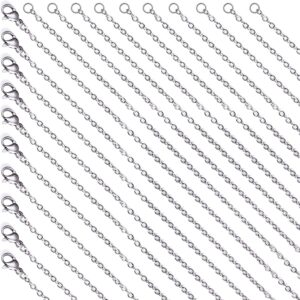
- Attach the clasp: Use a jump ring to secure a clasp at one end of the chain. It’s a bit fiddly, but once you do one, the rest comes naturally.
- Plan your charm placement: Do you want symmetry? Asymmetry? Just one charm near your heart? Arrange them like a sky map made only for you.
- Add your charms: Attach them with jump rings and your pliers. Take your time. Adjust as you go. There’s no “perfect”—only what feels right.
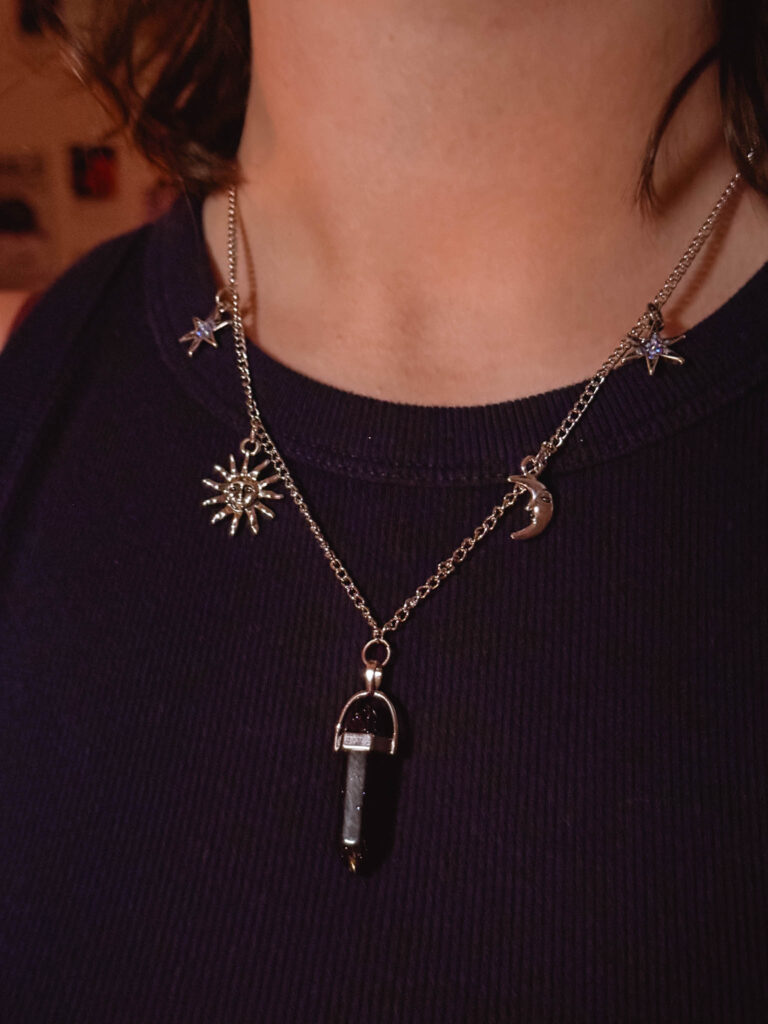
- Style It: Layer it over knits, tuck it under collars, or let it peek out from your favorite flannel. It’s soft, subtle magic for everyday.
Shop The Tools
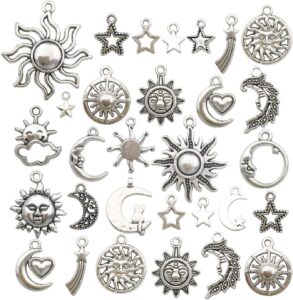
Mixed Antique Silver Sun Moon Stars Charms

FAQ
Did you make this charm necklace?
I’d love to see your creation! Tag @rubyscozycottage on Instagram!
DIY Celestial Charm Necklace with Moon & Stars
Instructions
- Create your cozy space: Light a candle, play soft music, and lay out your materials on a small cloth or jewelry tray.
- Attach the clasp: Use your pliers to open a jump ring and connect the clasp to one end of the chain. Close securely.
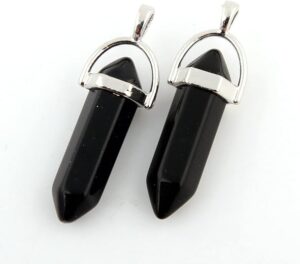
- Arrange your charms: Plan where you’d like each charm to hang. Keep it minimal or scatter them like stars.
- Add the charms: Attach each charm to the chain using a jump ring. Use pliers to open and close rings gently.
- Try it on: Adjust charm placement if needed. It should feel balanced, even if it’s imperfect.
- Style It: Pair with sweaters, scarves, or your softest t-shirt. You made it—let it shimmer.
Notes
- This is a beginner-friendly DIY. If you’re new to jewelry making, don’t stress—it’s meant to be soft, imperfect, and yours.
- You can use mixed metal charms or chain lengths to create a layered, vintage look.
- Gift idea: wrap it in tissue, tuck it in a kraft box, and add a handwritten note for someone who needs a little magic.
